

Setup your Gadget app
First, let’s add Brush to a Gadget app. This adds context enhancements, Shopify Storefront API token, localization info and so on.
Create a Shopify Dev store
Section titled “Create a Shopify Dev store”Make sure to have a Shopify Dev Store ready to have your Brush project installed.
More details: https://shopify.dev/docs/apps/build/dev-dashboard/stores/development-stores
Sign up to gadget.dev and init app
Section titled “Sign up to gadget.dev and init app”- Head to gadget.dev.
- Click on the “Create app” button and follow the login process.
- Once landed on your main Gadget dashboard, click on the ”+ Create app” button.
- On the “Create new app” page, make sure to choose “Shopify app” and an app type of “Custom app” and continue (those should be the defaults).
- Set an app name of your choice and keep the default options (Frontend: React Router v7 framework mode ; Language: Typescript). And confirm.
Run the wizard
Section titled “Run the wizard”- On the main pane of your Gadget app admin, you should see this:
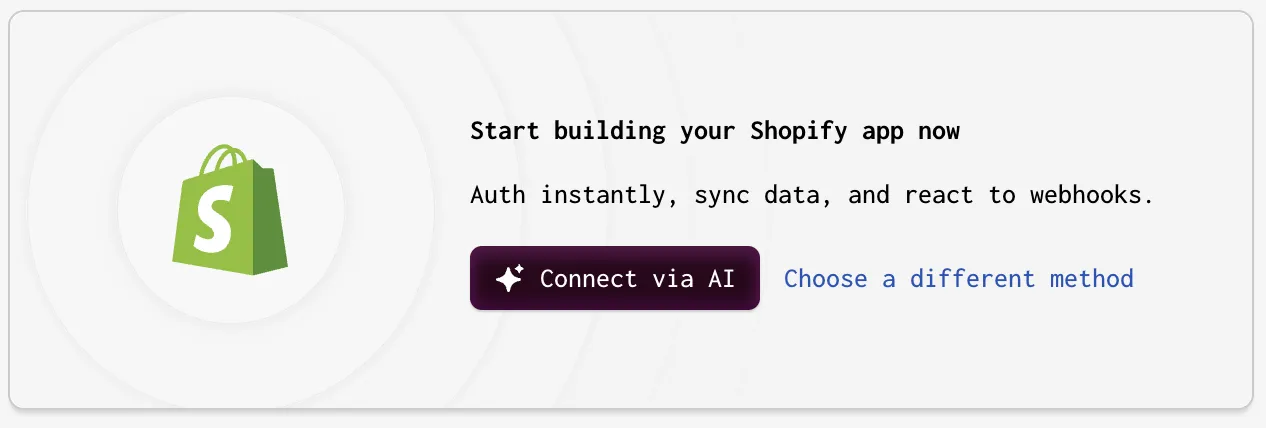
- Select “Choose a different method”.
- Then, choose “Use different connection methods”.
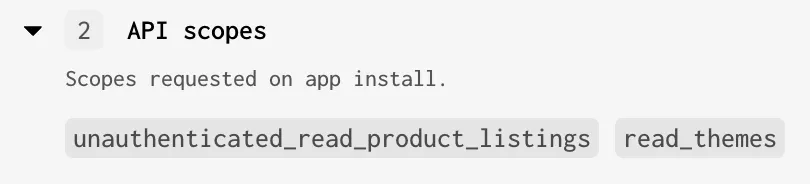
- Follow the wizard and, at step “Access scopes and data models”, make sure to check “Read” for both “[Admin API] Themes” and “[Storefront API] Product listings”. The “API scopes” section in the right column must look like that:
- When asked for a development store to install your app, select the one you created earlier and click on the “Install app” button
- Install the app on your dev store
Add environment variable
Section titled “Add environment variable”- From your Shopify Dev Dashboard, reach out to the “Settings” page of the new development app created by Gadget during the wizard.
- Copy the “Secret” from the “Credentials” area.
- Back in Gadget, reach out to the “Settings > Environment variables” page (https://fdsaa.gadget.app/edit/development/settings/env)
- Create a new environment variable with name
SHOPIFY_APP_CLIENT_SECRETand paste the secret you copied at step 2.
Install the Brush backend app
Section titled “Install the Brush backend app”⚠️ Make sure you do have Yarn installed as Gadget uses it instead of npm.
- Go to a terminal and
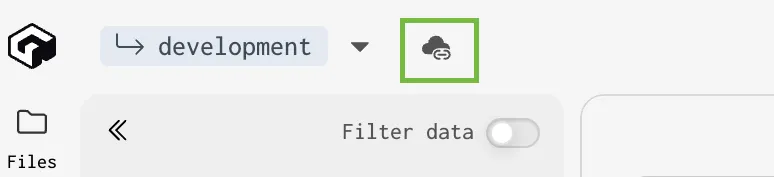
cdto the folder in which you want to install and run your backend app. - In the top left corner of your Gadget app admin, look for the icon that shows a cloud with a link.
- Run the 2 commands and, for the second one (
ggt dev ...), wait for the setup to run andWaiting for file changes…to show in the terminal. - Kill the command so that
Waiting for file changes…is stopped and you get access back to the terminal prompt. cdinto the subfolder that was created duringggt dev....- Run
npm create brush@latest - Choose “Backend” and continue
- Use
.for the “In which relative directory to install?” question and let the Brush installer run.
Add the App Proxy
Section titled “Add the App Proxy”- Open the
shopify.app.development.toml - Add the following at the end:
[app_proxy]url = "https://YOUR_APP_DEVELOPMENT_URL/brush"subpath = "brush"prefix = "apps"Where YOUR_APP_DEVELOPMENT_URL is the first part of the application_url entry you already have in the shopify.app.development.toml.
Example: if the value of application_url is https://my-app--development.gadget.app/api/shopify/install-or-render, then the value of url in [app_proxy]
is https://my-app--development.gadget.app/brush
- Run
shopify app deployin order to create a new release with the updated App Proxy configuration.
Launch the backend app 🎉
Section titled “Launch the backend app 🎉”Run ggt dev in order to relaunch the Gadget app. You may see errors in the output but this is normal as Gadget must install new dependencies ; which it will do automatically.