Setup your Gadget app
First, let’s add Brush to a Gadget app. This adds context enhancements, Shopify Storefront API token, localization info and so on.
Sign up to gadget.dev and init app
Section titled “Sign up to gadget.dev and init app”- Head to gadget.dev.
- Click on the “Create app” button and follow the login process.
- Once landed on your main Gadget dashboard, click on the ”+ Create app” button.
- On the “Create new app” page, make sure to choose “Shopify app” and an app type of “Custom app” and continue (those should be the defaults).
- Set an app name of your choice and keep the default options (Frontend: React Router v7 framework mode ; Language: Typescript). And confirm.
Add the Shopify plugin
Section titled “Add the Shopify plugin”-
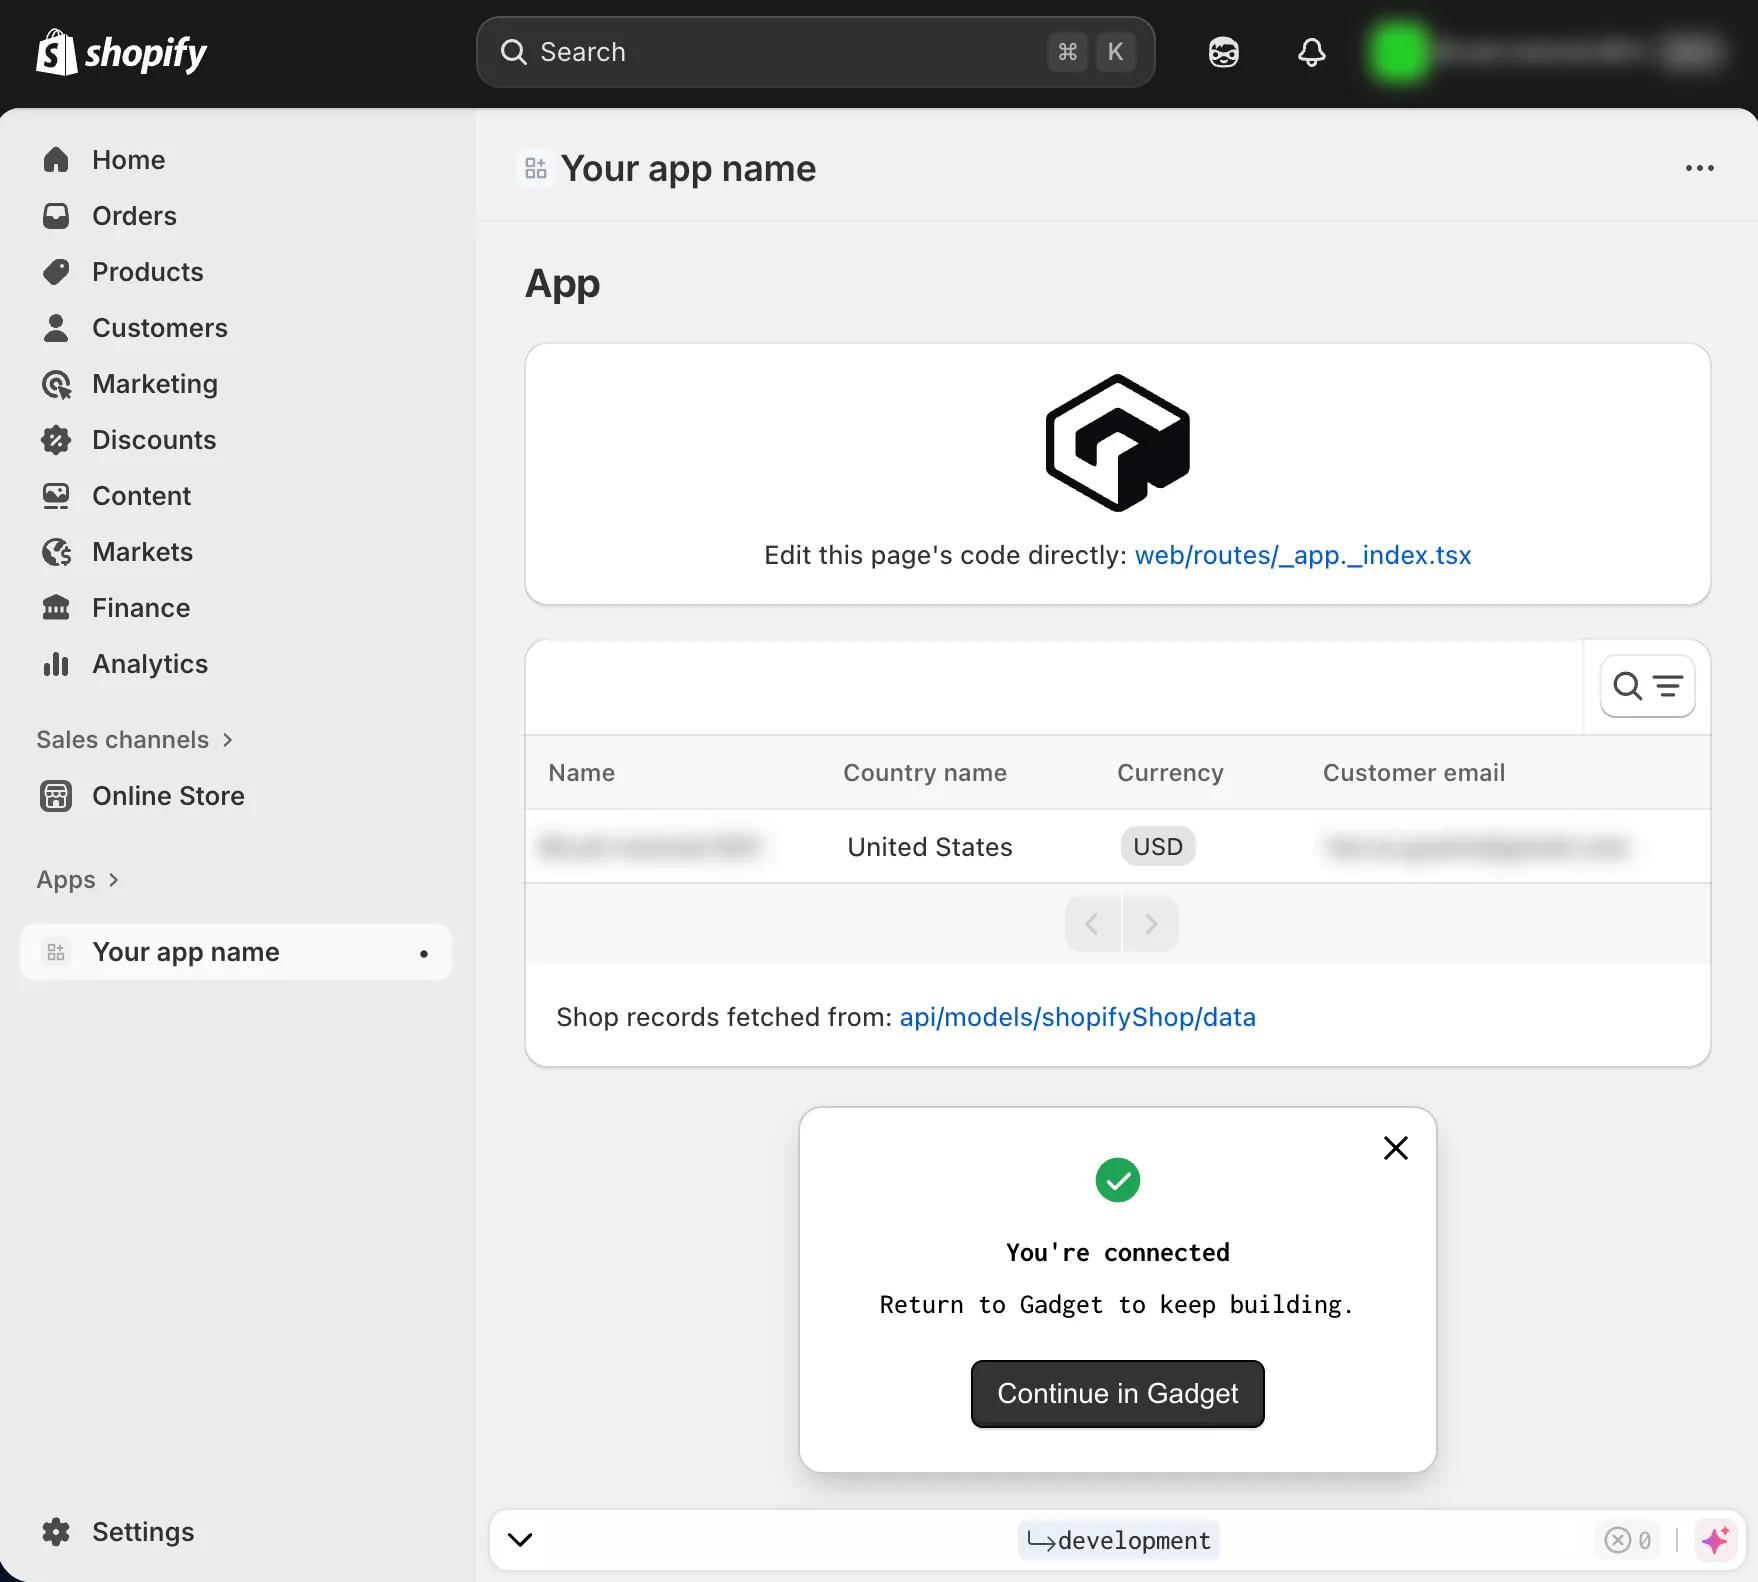
On the main pane of your Gadget app admin, you should see this:
-
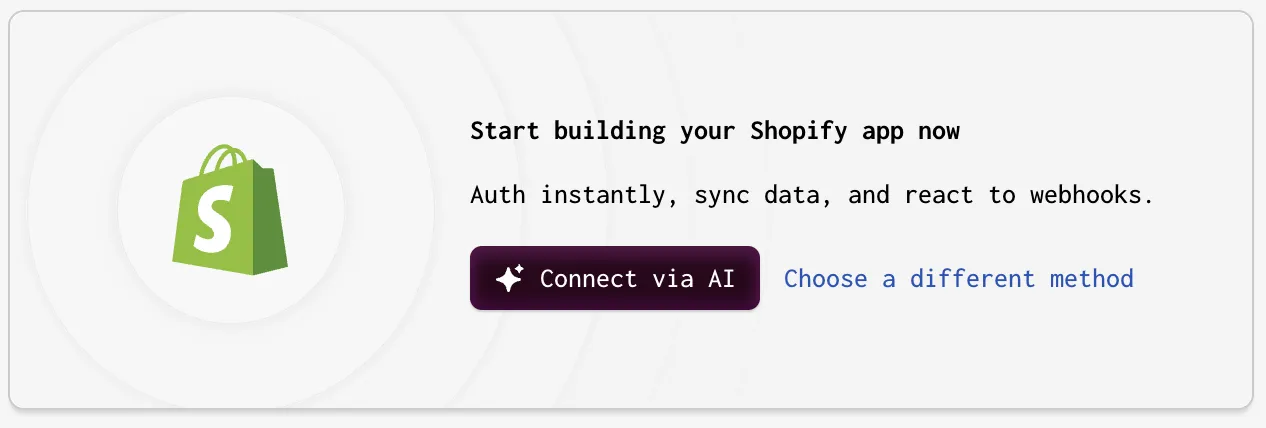
Select “Choose a different method”.
-
Then, choose “Use different connection methods”.
-
In the “URLs” section, copy both the “App URL” and “App redirection URL”.
-
Leave the page as is for now.
Create a Shopify app
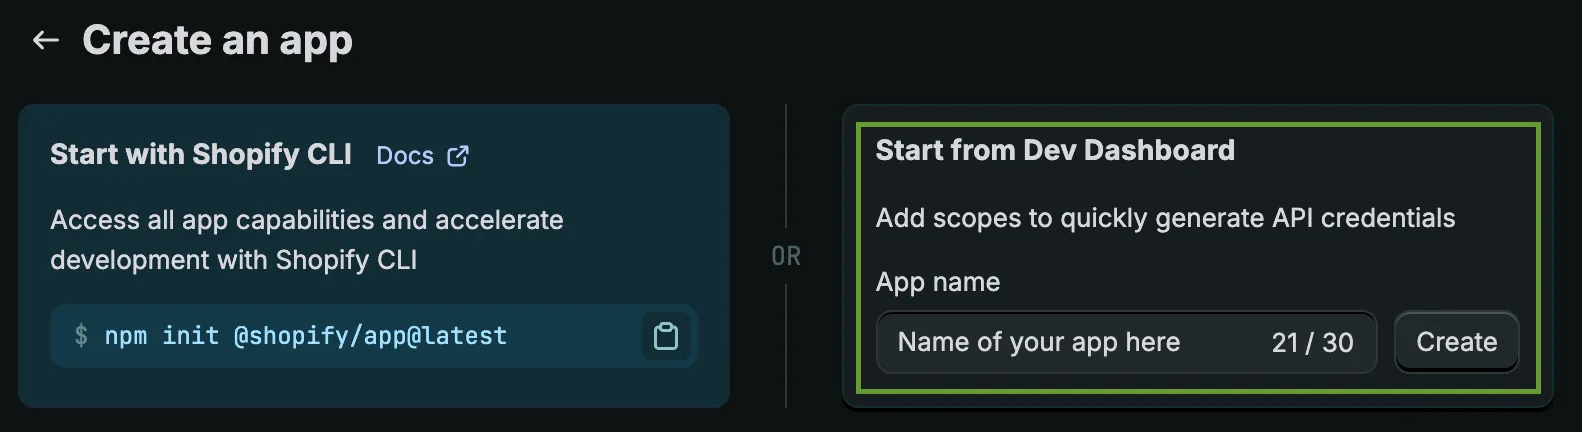
Section titled “Create a Shopify app”- From your Shopify Dev Dashboard (https://dev.shopify.com/dashboard), create a new app.
- Use the “Start from Dev Dashboard” option and fill the “App name” field with a name for your Shopify app.
- In the “App URL” field, paste the “App URL” you copied from Gadget earlier.
- Further down, check “Use legacy install flow”.
- In the “Redirect URLs” textarea, paste the “App redirection URL” you copied from Gadget earlier.
- Deploy the “App Proxy” box at the bottom and choose “apps” for the “Subpath prefix”, “brush” for the “Subpath”…
- … for the “Proxy URL”: use the main URL from the Gadget’s “App URL” and happen
/brush. For example, if your Gadget’s “App URL” ishttps://brush-tutorial--development.gadget.app, the “Proxy URL” value must behttps://brush-tutorial--development.gadget.app/brush. - Click the “Release” button at the top of the Shopify “Create a version” page you are currently browsing, enter any detail you wish in the modal that appears and confirm the release by clicking “Release”.
- Reach out to the “Settings” page of your Shopify app and copy both “Client ID” and “Secret”.
Complete Gadget setup
Section titled “Complete Gadget setup”From the page you left off earlier in the Gadget admin (“Connect to Shopify”):
- Paste the “Client ID” and “Secret” you copied just before from your Shopify app in the Shopify Dev Dashboard.
- Click “Continue”.
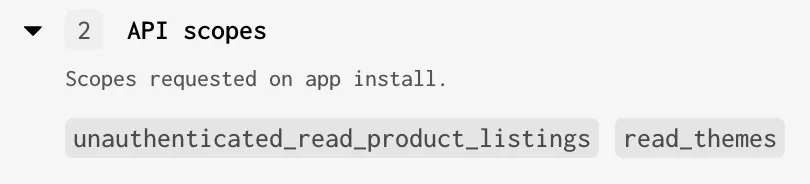
- Make sure to check “Read” for both “[Admin API] Themes” and “[Storefront API] Product listings”. The “API scopes” section in the right column must look like that:
- Confirm. This shows up a modal box that you can close straight ahead.
- Do not worry about the “Install your app on a dev store” warning that shows up, we’ll come to it later.
- From the left column named “Settings”, choose “Environment variables” and add a new entry with the Key
SHOPIFY_APP_CLIENT_SECRETand paste the “Secret” you got from your Shopify app “Settings” page earlier. - You may want to click the lock to hide the key. It will then be hidden forever until you re-enter the key.
- Save the settings.
Install the Brush backend app
Section titled “Install the Brush backend app”⚠️ Make sure you do have Yarn installed as Gadget uses it instead of npm.
- Go to a terminal and
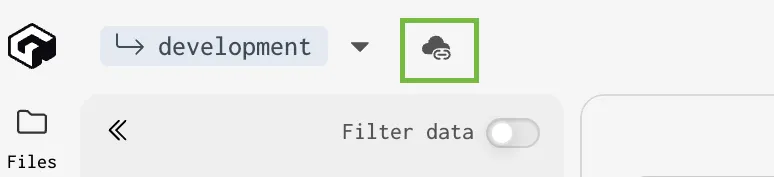
cdto the folder in which you want to install and run your backend app. - In the top left corner of your Gadget app admin, look for the icon that shows a cloud with a link.
- Run the 2 commands and, for the second one (
ggt dev ...), wait for the setup to run andWaiting for file changes…to show in the terminal. - Kill the command so that
Waiting for file changes…is stopped and you get access back to the terminal prompt. cdinto the subfolder that was created duringggt dev....- Run
npm create brush@latest - Choose “Backend” and continue
- Use
.for the “In which relative directory to install?” question and let the Brush installer run. - Run
ggt devin order to relaunch the Gadget app. You may see errors in the output but this is normal as Gadget must install new dependencies ; which it will do automatically.
Install your app on a Shopify store
Section titled “Install your app on a Shopify store”- From your Shopify Dev Dashboard, reach out to the “Dev stores” page and create a new dev store of your choice.
- Now, reach out to the “Apps” page and choose your Shopify app.
- Click on the “Install app” button of the “Installs” box and follow the process by choosing the dev store you just created.
- You should now have your Shopify app powered by Gadget in your dev store’s admin 🎉